Concrete drain blockages can be a significant issue, leading to water pooling, unpleasant odors, and potential damage to your property. Understanding how to address these blockages safely and effectively is crucial for maintaining a functional drainage system. This article will guide you through the process of removing concrete drain blockages.
Understanding Concrete Drain Blockages
Concrete drains can become blocked due to various reasons, including:
- Debris Accumulation: Leaves, dirt, and trash can accumulate over time.
- Tree Roots: Roots from nearby plants may infiltrate the drainage system, causing blockages.
- Cracks and Damage: Over time, concrete may crack, leading to structural issues and potential blockages.
Tools and Materials Needed
Before you begin, gather the necessary tools and materials:
- Safety Gear: Gloves, goggles, and a mask to protect yourself from dust and debris.
- Water Hose: A high-pressure hose can help clear minor blockages.
- Drain Snake: Useful for removing tougher blockages.
- Shovel or Spade: For digging if necessary.
- Concrete Saw: In cases of severe blockage where you need to access the concrete.
- Sealant: To repair any cracks or joints after the blockage is removed.
Step-by-Step Process
Step 1: Assess the Situation
Before taking action, inspect the area around the drain. Look for signs of blockages, such as slow drainage or standing water. Identifying the source of the blockage will help you choose the right approach.
Step 2: Clear the Surface
Remove any debris or vegetation from the surface around Remove concrete drain blockage the drain. This will make it easier to access the drain itself.
Step 3: Use a Water Hose
Start with a high-pressure water hose. Direct the water into the drain to see if it can dislodge any minor blockages. This method is effective for small accumulations of debris.
Step 4: Employ a Drain Snake
If the blockage persists, use a drain snake. Insert the snake into the drain and push it through the blockage. Turn the handle to break up the debris, and then pull the snake back out to remove any loosened material.
Step 5: Digging (If Necessary)
If the blockage is still not cleared, you may need to dig around the drain. Use a shovel to carefully expose the drain pipe. Be cautious to avoid damaging the concrete or the drainage system.
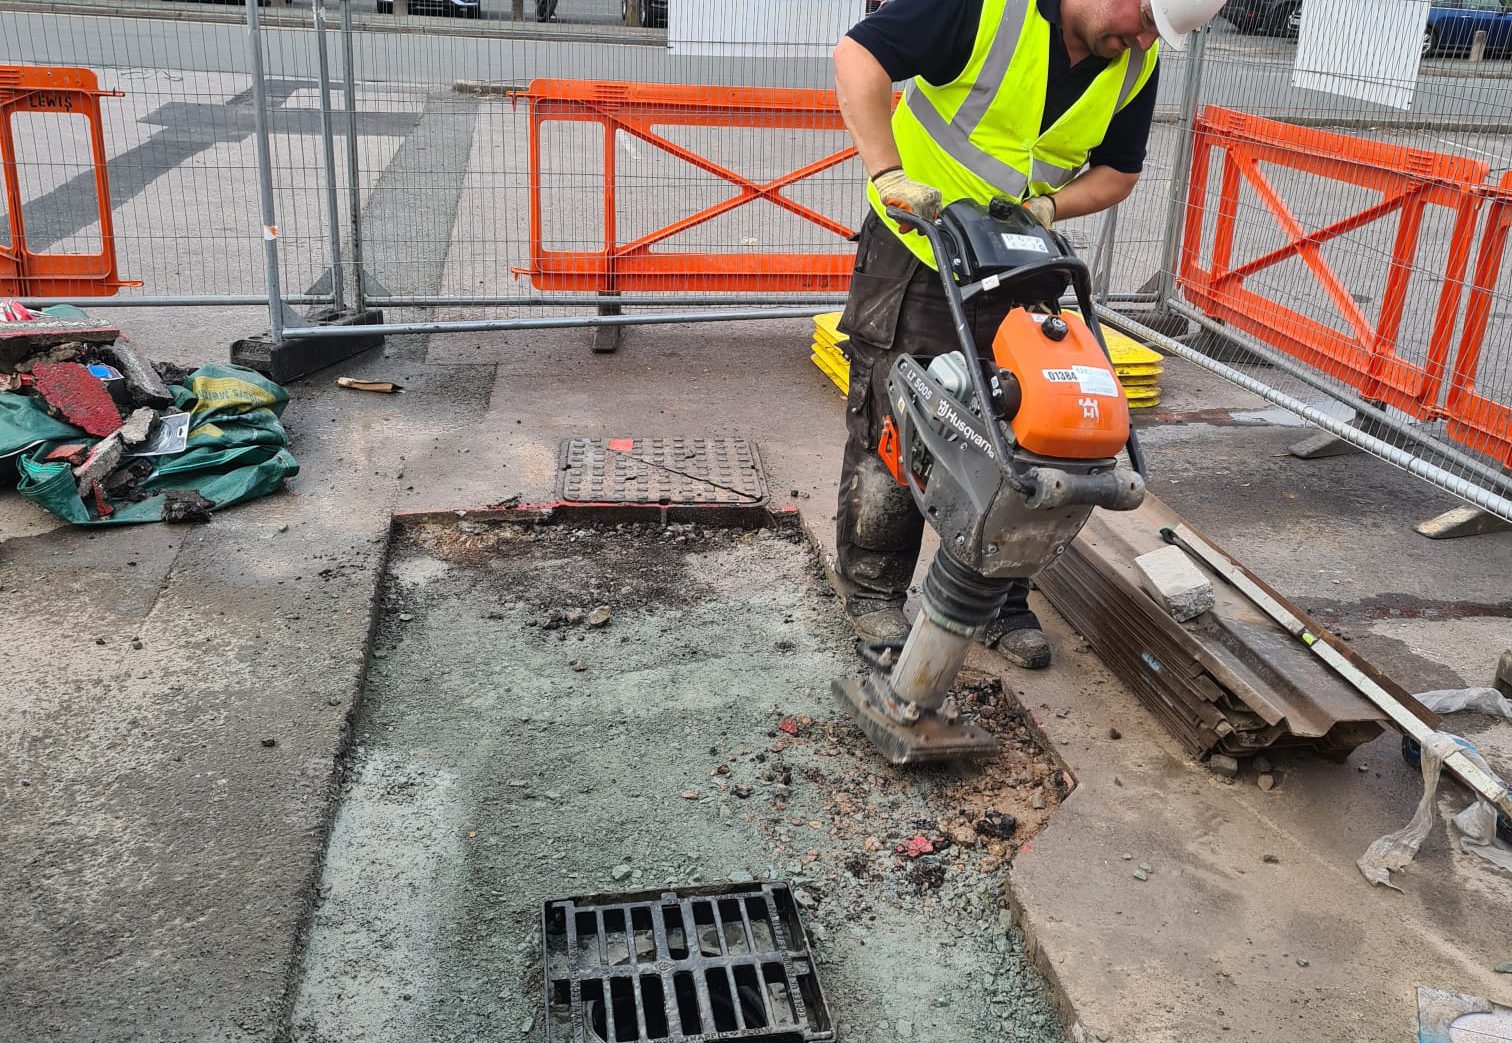
Step 6: Concrete Saw (For Severe Blockages)
In extreme cases where the blockage is caused by damaged or cracked concrete, you may need to use a concrete saw. Cut through the affected area to access the blockage directly. After removing the blockage, you’ll need to repair the concrete.
Step 7: Clean and Maintain
Once the blockage is cleared, ensure the drain is clean. Remove any remaining debris and flush the drain with water to ensure it’s functioning correctly. Regular maintenance, including clearing debris and checking for tree roots, can help prevent future blockages.
Step 8: Seal Cracks
If you found any cracks or damage in the concrete, apply a suitable sealant to prevent further issues. This will help maintain the integrity of the drainage system.
Conclusion
Removing a concrete drain blockage requires careful assessment and the right tools. By following these steps, you can effectively clear blockages and maintain your drainage system. Regular maintenance is essential to prevent future issues, ensuring your property remains free from water-related problems. If the blockage is severe or beyond your capability, consider contacting a professional plumber for assistance.